Install node.js on a Windows Azure Cloud Service
node.js is supported by default on a Windows Azure WebSite. But there are cases when you might need to deploy an application on an heavier (and more expensive) Cloud Service. Such a case is when you need SSL on a custom domain, as Azure WebSites do not yet support custom certificates.
Cloud Services instances can be customized through startup tasks. This is how you would install and configure node.js (and iisnode, presumably): create a startup task that installs node.js, iisnode, and runs npm install on your package. It all seems pretty straightforward (though it may be the subject of a future post).
Except that node.js cannot be installed on a Cloud Service as is (yet): if you try to execute the installer on a Cloud Service instance, it will fail at the Creating shortcuts stage (as you’ll see in the installer logs). The default node.js installer tries to create shortcuts in the Windows start menu, which is (quite understandably) a disabled functionality in this version of Windows. And there is no way to tell the installer not to execute this step. So we’re doomed…
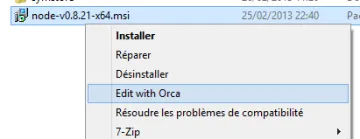
Well, there is a way to get around this. We can edit the official installer with Orca, the database table editor for Windows installer packages. It needs to be installed first (the installer can be found along the Microsoft Windows SDK for Windows 7 and .NET Framework 4 binaries, in %ProgramFiles%\Microsoft SDKs\Windows\v7.1\Bin). Once done, you can right-click the node.js installer and select the Edit with Orca menu.

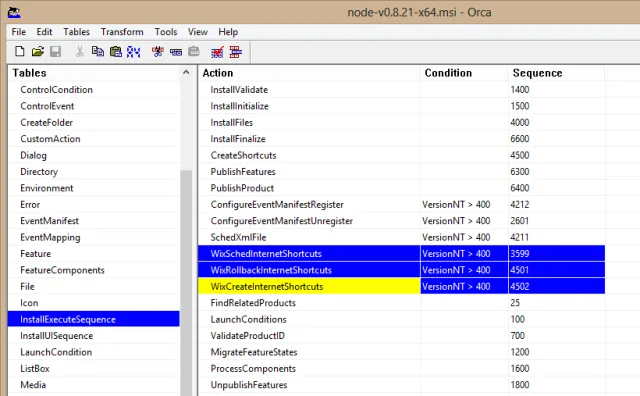
As you can see, an installer package is nothing more than a database of all the components and actions performed during the install. Just select the InstallExecuteSequence table, and remove the 3 rows named WixSchedInternetShortcuts, WixRollbackInternetShortcuts and WixCreateInternetShortcuts.

Just save your changes, and there you go: this package will install properly on a Windows Azure Cloud Service. Maybe one day will there be a command line option to save us all this trouble…